Buying guide
The fire risk inside a cheap LED video wall, and how to check for it.
What makes an LED wall safe sits behind the modules: power supplies, cables, earthing and the circuit that feeds it. Here is what to check before you sign.
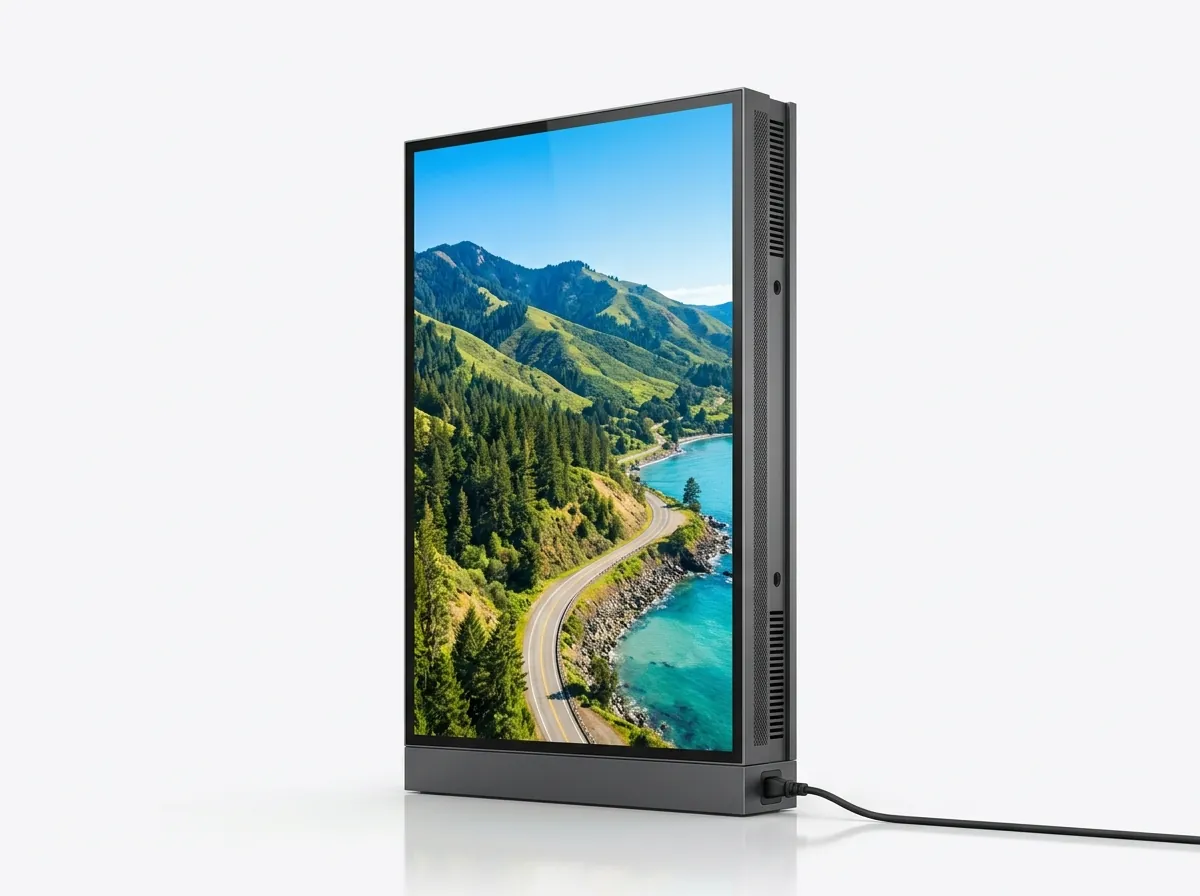
An LED wall is a large electrical appliance fixed to your building and left running ten or twelve hours a day. Most of what keeps it safe sits behind the modules, where buyers never look and where a low quote finds its savings. Here is what to check, in plain language, before a wall goes up in your shop, office, temple or hall.
The short version
- The risk is rarely the LEDs. It is power supplies, thin cables, loose connectors and missing protection.
- Wire for the peak, not the average. A 10 × 6 ft indoor wall can pull about 3.9 kW on a full-white frame.
- Insist on a dedicated line with its own MCB, an RCCB and a tested earth. Never a shared socket or an extension board.
- Give the wall air: no sealed wooden boxes, no kitchen exhausts, no full brightness all day indoors.
- Ask for the power supply make, the cable plan and the burn-in test in writing. A vendor who can't answer has answered.
Where the fire risk in an LED wall actually comes from
Each LED uses very little power. The risk sits in how power reaches them. Mains electricity at 230 volts enters the wall, and dozens of power supplies convert it into low-voltage DC for the modules, typically around 5 volts.
Low voltage means high current. Power is voltage times current, so a wall drawing 1,000 watts at 5 volts moves about 200 amps through its internal wiring, spread across many supplies and cables. High current through a thin wire, a loose screw terminal or a poor connector becomes heat. Heat inside a closed space, next to wood, fabric or cladding, is how electrical fires begin.
That is why the parts that matter most are the ones nobody photographs: power supplies, cables, connectors, earthing and the circuit that feeds the wall.
Power supplies: where a cheap wall saves first
The power supply is the hardest-working part of any LED wall. Even on well-built walls it is the part most likely to be replaced in the first six years. On a low-cost wall it is where money is saved first: lighter components, less headroom, protection left out.
A good supply protects itself. On overload, short circuit or overheating it shuts down, and the wall shows a dark rectangle until the part is replaced. A poor one keeps going, gets hotter and ages faster, in a cabinet already warm on an Indian summer afternoon. Supplies are also sensitive to the grid. Ours are rated for 200 to 240 V, and a voltage sag is one of the commonest reasons any supply fails.
Ask three questions. Which make and model of power supply is fitted? How many modules does each one feed? Does it have over-current, short-circuit and over-temperature protection?
Cables, connectors and the daisy chain
Inside the wall, power runs from cabinet to cabinet in chains. Each chain should be sized so it never carries more than the breaker feeding it, on cable thick enough to carry that current without warming up. On a careless install, the chain is simply as long as it takes to save cable.
- Proper connectors or crimped lugs at every joint. Never twisted wires and tape.
- Screw terminals tightened and checked. A loose terminal heats a little every day.
- Power and data cables routed separately, clipped, and clear of sharp cabinet edges.
- Cable size written on the drawing, matched to each chain's load.
Earthing, MCB and RCCB: the protection at your distribution board
Three things stand between an electrical fault and a fire. The MCB trips when the circuit draws more current than it should, from an overload or a short. The RCCB trips when current leaks to earth, which protects people and catches failing insulation early. The earth gives leaking current a safe path, so the RCCB can see it. On repair calls we still find walls fed from a shared 6 A socket, and walls with no earth at all.
This is what PixelSpot specifies for your electrician:
| Wall | Supply we specify |
|---|---|
| Indoor, up to about 8 × 6 ft | A dedicated 16 A point with an RCCB and a tested earth |
| Indoor, 10 × 6 ft | A dedicated 20 A single-phase line with an RCCB and a tested earth |
| Larger indoor walls and outdoor walls | Split across circuits, each on its own MCB; three-phase above about 150 sq ft indoors or 100 sq ft outdoors |
| Any outdoor wall | An earthed IP65 distribution box within 3 m of the wall |
| Above about 10 kW peak | A three-phase feed, and a check of your BESCOM sanctioned load before fabrication |
Sized for peak draw. Where the voltage swings, add a stabiliser or online UPS on the wall's line.
The mains cable from your distribution board to the wall point is laid by your licensed electrical contractor, to this specification, before our crew arrives. The power consumption guide has the watts per sq ft behind these numbers.
Power
Wired for the peak. Not the average.
A wall that averages about 1 kW can ask for nearly four times that on a white frame. The wiring has to be ready every time that moment comes.
Cabinet material, ventilation and heat
A cabinet is not just a frame. It is the enclosure around the power supplies. PixelSpot builds indoor walls on die-cast aluminium or steel cabinets, and outdoor walls on powder-coated mild steel. Metal spreads heat, does not burn and can be earthed. Be wary of any wall where modules are fixed to plywood or MDF backing, or boxed in behind gypsum with no path for air.
Heat shortens the life of every part in the wall. Walls in closed enclosures without ventilation, or near kitchen exhausts, fail years early. Leave a ventilation gap, keep hot kitchen air away, and don't run an indoor wall at full brightness: it is comfortable at 30 to 50 per cent, and full brightness roughly doubles the heat. Outdoors, a west-facing wall in April takes the sun's heat on top of its own, one reason auto-dimming through PixelOS is standard on our outdoor walls.
The overloaded circuit nobody planned for
The most common shortcut is not in the wall. It is the socket. The wall gets plugged into a point shared with the AC, the lights and the coffee machine, sometimes through an extension board. Everything works on day one, because normal content draws only about a quarter to a third of the peak. Then a bright white slide, a hot afternoon and the AC compressor arrive together.
On a correctly sized circuit, the MCB trips and nothing is harmed. If someone has fitted a bigger MCB to stop the nuisance trips, the wiring now carries more than it was built for. That moment is avoided on paper, with a load calculation, before installation day.
A buyer's checklist
- Power supply make, model and protection features written on the quote.
- A load calculation for peak draw, and a circuit specification for your electrician.
- A dedicated line with its own MCB, an RCCB and a tested earth. No shared sockets, no extension boards.
- Metal cabinets, earthed, with a path for air. No sealed wooden boxes.
- Proper connectors and cable sized for each chain. No taped joints.
- A burn-in test before delivery. Ask how long, and at what brightness.
- A stabiliser or online UPS where the voltage swings.
- Brightness scheduling, so the wall is not at full power all day.
- Outdoors: cabinets rated IP65 at the front and IP54 at the rear, and an earthed IP65 distribution box nearby.
- A warranty that covers power supplies and internal cabling onsite, not just the modules.
What PixelSpot does before a wall reaches you
Every wall is assembled at our Bengaluru facility. Each cabinet gets its power supplies, receiving card and cabling on the bench, then runs for 72 hours at full white followed by colour ramps. A marginal power supply, a cold solder joint or a cable not fully seated shows up on our rack instead of on your wall. A cabinet that drops a pixel goes back to the bench, not into a crate. The factory page walks through the line.
Controllers are Novastar or Huidu. The mounting frame is fabricated to the survey measurements and anchored to the structure, never to a partition, and our own crew commissions the wall on the circuit we specified. PixelOS then keeps brightness on a schedule and shows us a failed power supply, often before you notice it. The 2-year pixel-to-pixel onsite warranty covers power supplies, receiving cards, cabinets, connectors and internal cabling, with no call-out charge. How we run a site is on the installation page.
Where to go next
A low price is not the danger. An unexplained one is. If one quote sits lakhs below the rest, ask where the difference went; the answer is usually inside the cabinet. The same thinking applies when you choose front or rear service, because a wall you can reach is a wall you can keep safe.
Questions? Answers.
Can an LED video wall catch fire?
Can I plug an LED wall into an ordinary wall socket?
Do I need an RCCB for an LED video wall?
What is a burn-in test, and why does it matter?
Does a stabiliser make an LED wall safer?
See it running. Then decide.
Send your wall size on WhatsApp for a same-day price, or see indoor and outdoor walls running at our Jalahalli East experience centre in Bengaluru.
Prices are estimates: installed, controller extra, plus 18% GST. See every price