Buying the wall is the easy part. Live pricing, pixel pitch comparisons, a signed PO — that whole process takes a fortnight. What most Indian buyers have never seen is the other side: the crate arriving at 7 AM, the electrician asking where the neutral is, the first dark module in month four, and the awkward moment six weeks in when someone realises the screen has been looping the same 14-second clip since day one. This is the ownership piece — what actually happens after the invoice, written from installs we've done across Bengaluru showrooms, lobbies, QSRs and factory receptions.
Install day, hour by hour
A standard indoor wall — say 3.2m x 1.8m of P2.5 built from 500 x 500 mm cabinets, that's 24 cabinets in a 8 x 4 grid — is a one-day job if the site is ready. "If" is doing a lot of work in that sentence.
What a normal day looks like
- 07:00–08:00 — Offload and stage. Cabinets are unpacked in a clean, dry area, not the pavement. Each cabinet is switched on individually on a test bench before it ever goes on the wall. This catches transit damage while it's still cheap to fix.
- 08:00–10:30 — Structure. Wall-mount frame or floor-standing truss goes up, laser-levelled. On brick or block walls we use chemical anchors, not plastic plugs. Flatness tolerance we work to is ±0.5 mm cabinet-to-cabinet — beyond that, you see seam lines in dark grey content.
- 10:30–13:00 — Hanging the grid. Bottom row first, locked with cabinet-to-cabinet locks, then upward. Power and data loop cabinet to cabinet; typically 4–6 cabinets per power chain and 8–10 per data chain depending on resolution.
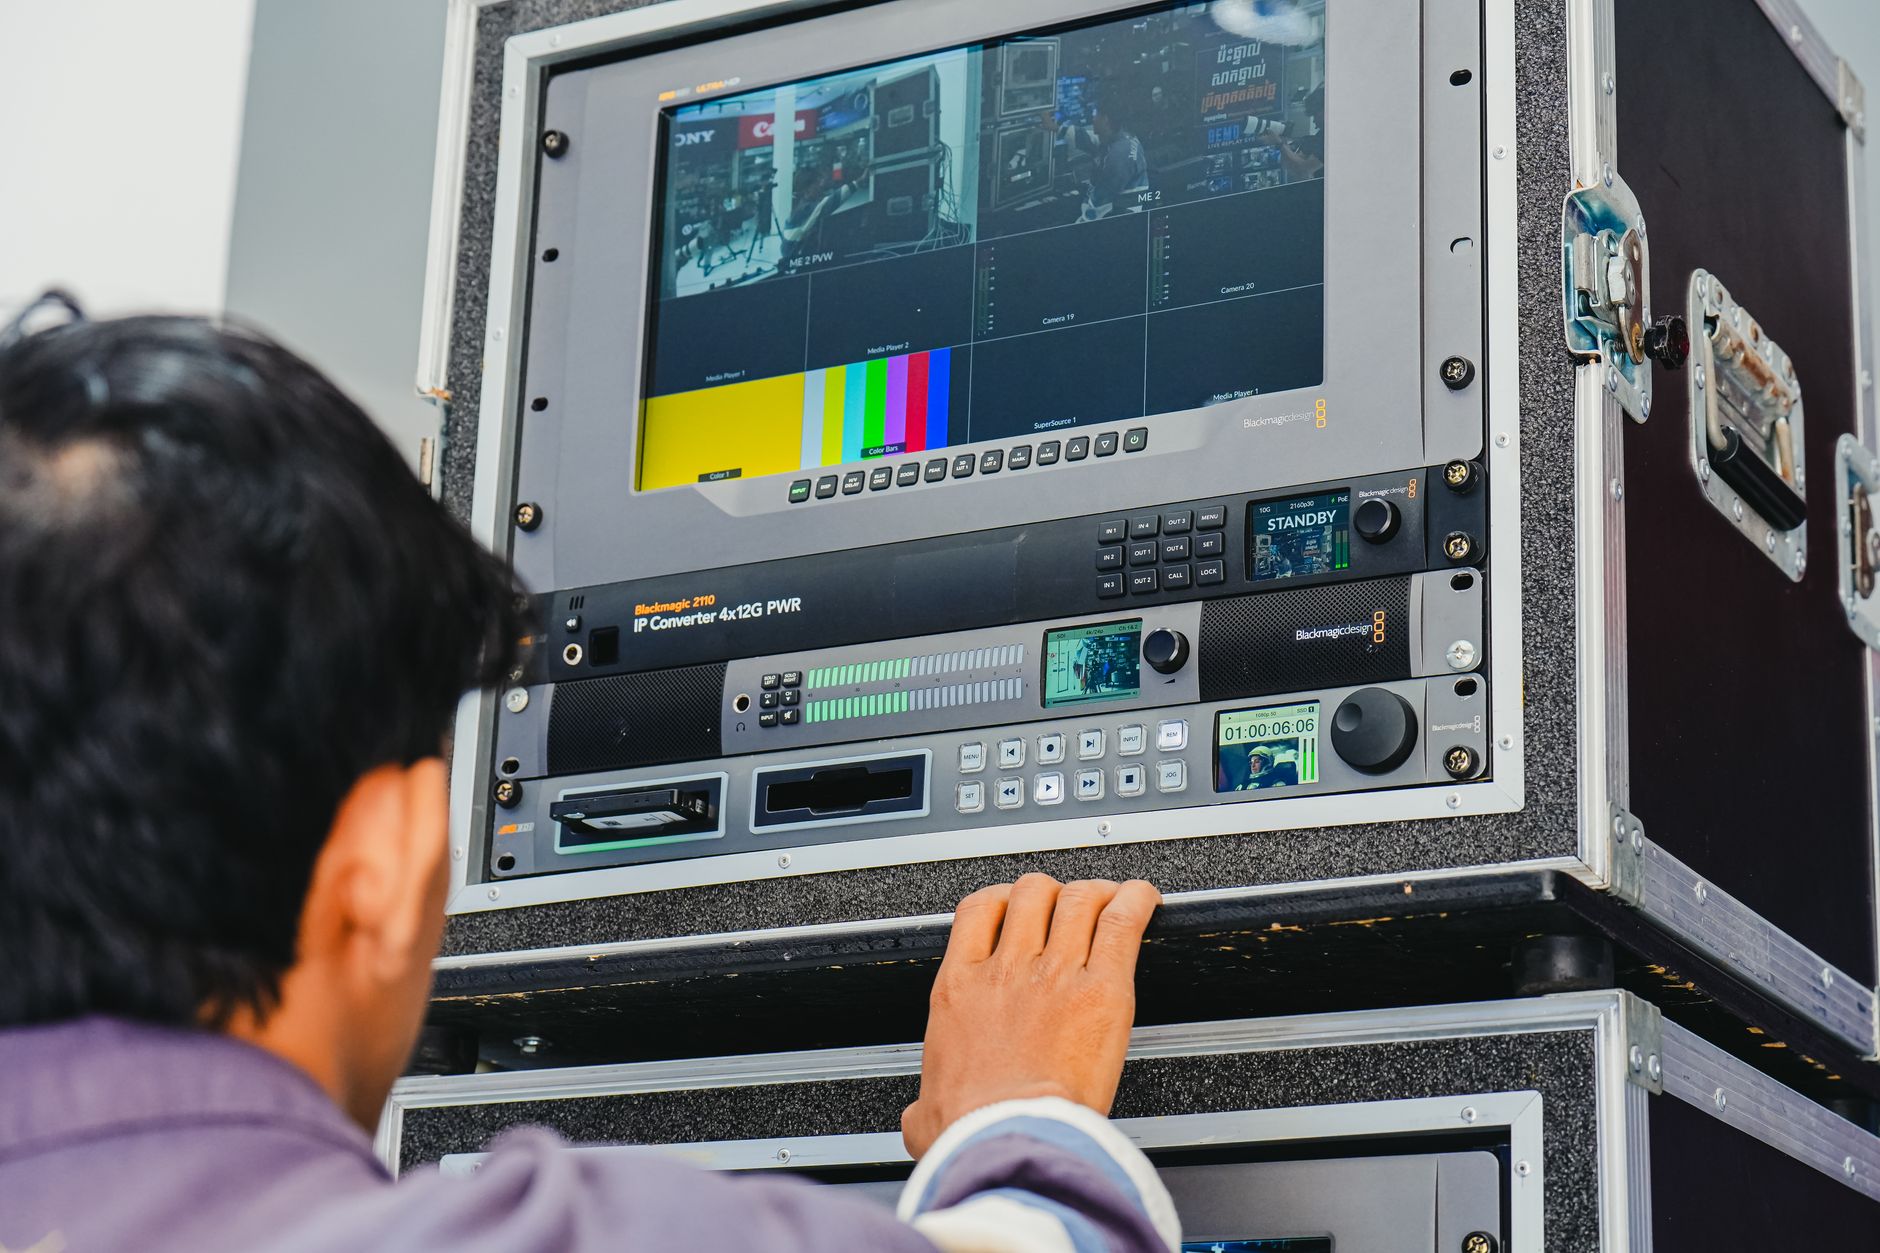
- 13:30–15:30 — Controller, sender card, cabling. Video processor and sender card get mounted in the rack, HDMI/network runs are dressed and labelled. Every cable labelled at both ends — this single habit saves hours in year three.
- 15:30–17:00 — Mapping and calibration. Cabinet mapping, brightness and colour uniformity calibration, gamma set for the room. An indoor retail wall is normally set at 600–1200 nits, not the 1500 the panel can do. More on that below.
- 17:00–18:30 — Content load and handover. PixelOS gets connected, playlists loaded, schedules set, and your team is trained on the CMS. Spare module kit and front-service pull tool handed over with a signed checklist.
Site-readiness checklist (do this a week before)
- Dedicated circuit sized for the wall's peak draw — indoor walls typically pull 150–350 W per sqm average, with peak up to 2.5x average on full-white content.
- Proper earthing, ideally under 1 ohm. This is the single most-skipped item in Indian installs and the root of most flicker complaints.
- A servo stabiliser or line conditioner if your incoming supply swings beyond 200–250V. Bengaluru industrial areas swing more than people admit.
- An RJ45 run from the controller position to your network switch, plus a UPS point for the controller and media player (the panels don't need UPS, the brain does).
- Structural clearance: 100–150 mm behind the wall for airflow if you're rear-servicing; front-service panels can sit nearly flush, which is why they win in lift lobbies and showroom columns.
- Ambient temperature plan. If the wall sits in a glass-fronted showroom facing west, get the AC vent direction fixed before install, not after.
The service calendar that actually gets followed
Grand annual maintenance contracts fail because nobody remembers them. A simple recurring calendar entry with three tasks works better.
| Frequency | Task | Who does it | Time needed |
|---|---|---|---|
| Weekly | Visual scan for dark pixels, colour patches, dead modules. Photograph anything odd. | Store staff | 2 minutes |
| Monthly | Dry microfibre wipe of the face; blower on intake vents; check controller fan noise. | Store staff | 20 minutes |
| Quarterly | Cabinet-level brightness/colour uniformity check, connector reseat on any flickering module, firmware check on PixelOS. | Technician | 2–3 hours |
| Half-yearly | Power supply voltage check under load (should sit near 5.0V, not sagging to 4.6V), torque check on frame bolts, cable dressing. | Technician | Half day |
| Annually | Full calibration refresh, surge protector check, spare module stock top-up, log review of runtime hours. | Technician | Full day |
Outdoor walls add two items: gasket and IP-seal inspection before monsoon, and a check for insect ingress in the cabinet base. Do it in May, not July.
Common faults and what they usually mean
Ninety per cent of LED video wall complaints fall into six buckets. Front-serviceable panels mean most of these are 10-minute fixes with a magnetic pull tool, without dismantling anything.
| Symptom | Likely cause | Typical fix |
|---|---|---|
| One small black square, roughly 160 x 160 mm | Dead module or loose 16-pin ribbon connector | Pull module, reseat the connector; swap from spare kit if it stays dark |
| A single dot stuck red, green or blue | Failed LED package | Cosmetic; batch these and replace at the quarterly visit |
| Half a cabinet dark, clean horizontal split | One of two power supplies in the cabinet has failed | PSU swap — a 20-minute job, front-serviceable |
| Whole cabinet black, neighbours fine | Receiving card, data loop-through, or the Cat6 jumper | Swap the jumper first, then the receiving card |
| Flicker on camera or intermittent scrolling lines | Low refresh rate setting, bad earthing, or an unstable HDMI source | Set refresh to 3840Hz+, fix earthing, use a shorter or fibre HDMI run |
| A cabinet visibly brighter or pinker than the rest | Calibration data lost or a replacement module from a different bin | Reload calibration file; batch-match modules |
What to keep on site
- 3–5% spare modules of the same batch (for a 24-cabinet wall, that's roughly 6–8 modules)
- One spare power supply and one spare receiving card
- Two spare Cat6 jumpers and one spare power jumper
- The magnetic front-service pull tool, kept in a drawer, not lost in a store room
Making the panels last 8 years instead of 4
LED packages are rated around 100,000 hours to half-brightness. Nothing else in the cabinet is. Power supplies, capacitors and connectors decide your real lifespan, and heat decides theirs.
- Don't run at 100% brightness. An indoor wall at 60–70% brightness looks better to the human eye, draws roughly a third less power, and runs several degrees cooler. Heat is what kills PSUs.
- Schedule an off-state. A retail wall running 11 AM to 10 PM does about 4,000 hours a year. Running 24/7 does 8,760. Use PixelOS scheduling to switch off overnight — it doubles the calendar life of the electronics.
- Use ambient brightness control. A light sensor dimming the wall in the evening reduces glare complaints and runtime stress at the same time.
- Avoid static full-white content. A logo lock-up sitting on white for 10 hours daily ages those pixels faster than the rest. Rotate layouts.
- Surge protection. One lightning-season spike can take out four receiving cards. An SPD on the wall's circuit costs a fraction of that.
- Keep dust out. Dust on the mask reduces contrast, and dust inside the cabinet insulates heat. The monthly wipe genuinely matters.
Content that pays for the wall
The most common failure of an LED wall for showroom use isn't hardware — it's a playlist nobody has touched in three months. Design content for the actual dwell time at your site.
| Venue | Viewer dwell | Clip length | What works |
|---|---|---|---|
| Storefront / footpath-facing | 3–6 seconds | 6–8 seconds | One product, one price point, huge type, motion in the first second |
| Showroom interior | 20–60 seconds | 15–20 seconds | Product detail, texture, finish options, warranty badges |
| QSR ordering queue | 90–180 seconds | 10–15 seconds | Combo upsells, add-on items, dayparted menus |
| Corporate lobby | 30–90 seconds | 20–30 seconds | Live dashboards, visitor welcome, brand film cut-downs |
Three rules that hold everywhere
- Design at native resolution. A 3.2 x 1.8 m P2.5 wall is 1280 x 720 pixels. Making assets at 1920 x 1080 and downscaling softens fine text. Build to the panel's real pixel canvas.
- Text height minimum. Keep body text at least 24 pixels tall on the wall's native grid; headline text 60+ pixels. Below that, at P2.5 viewed from 4 metres, it turns to mush.
- Refresh fortnightly. Set a recurring calendar task to swap at least one creative every two weeks. Walls that get updated pull repeat attention; walls that don't become wallpaper within a month.
Before you sign the handover sheet
- All cabinets powered, mapped and colour-matched with the room lights on and off
- Calibration file backed up and emailed to you — not just stored on the controller
- Spare kit counted and photographed
- PixelOS logins created for at least two people in your team
- Warranty certificate with panel serial numbers listed — PixelSpot walls carry a 2-year pixel-to-pixel warranty
- A labelled single-line diagram of power and data runs, stuck inside the rack door
Get those six things right on day one and years two through eight are mostly a wipe-down and a playlist refresh.
Planning a wall?
We manufacture in Bengaluru, install free, and publish live transparent LED video wall pricing on pixelspot.in — check your size and pixel pitch there, then WhatsApp us your site photo and viewing distance for a same-day quote. We'll tell you honestly if a smaller wall at a finer pitch will serve you better than a bigger one.